
Print cartridge problems
•
Incorrect or missing print cartridge
•
Print cartridge is faulty or not installed properly
•
"Print cartridge is in the wrong slot" message
•
Low on ink
•
"Printing in ink-backup mode" message
Incorrect or missing print cartridge
Cause:
If the correct print cartridges have not been installed or if the print cartridges
are missing, the printer cannot print.
Chapter 10
62
Troubleshooting
Solution:
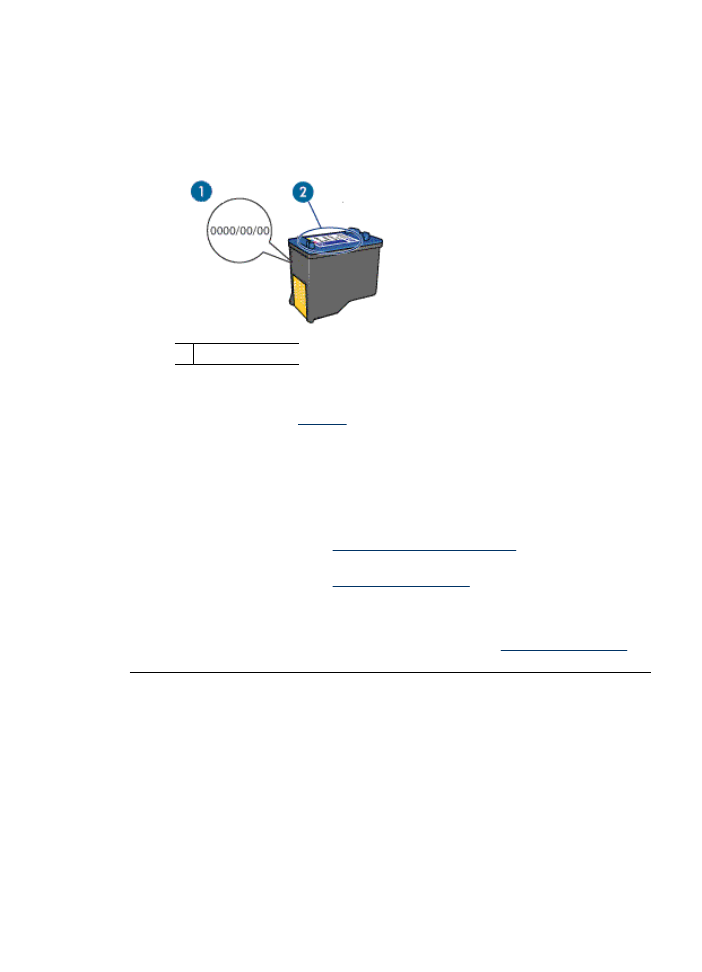
To verify and install the correct print cartridges
1.
Open the printer cover.
2.
Read the selection number on the print cartridge label.
1 Selection number
3.
Check the list of print cartridges that can be used in the printer.
a
. Open the printer
Toolbox
.
b
. Click the
Estimated Ink Levels
tab.
c
. Click the
Print Cartridge Information
button and view the list of print
cartridge selection numbers.
The reference guide that came with the printer also shows the print cartridge
selection numbers.
4.
If the print cartridge selection number is correct, try cleaning the print cartridge.
For more information, see
Manually clean print cartridges
.
5.
If the print cartridge has the wrong selection number, install a new print cartridge.
For more information, see
Installation instructions
.
6.
Close the printer cover.
If the Power light is not flashing, then the problem is fixed.
If the Power light is flashing, visit HP Technical Support at
www.hp.com/support
.
Print cartridge is faulty or not installed properly
Cause:
The printer cannot print if the print cartridges are faulty, or if they are not
installed properly.
Print cartridge problems
63
Solution:
To resolve the problem
1.
Raise the printer cover.
2.
Do one of the following:
•
If an error message is displayed on screen, remove the print cartridge that is
named in the error message. Go to step 3.
•
If an error message is not displayed, remove and reinstall each print cartridge
and close the printer cover.
If the Power light is not flashing, the problem is solved.
If the Power light is flashing, go to step 4.
3.
Reinstall the print cartridge and close the printer cover. For more information, see
Installation instructions
.
If the Power light is not flashing, the problem is solved.
If the Power light is flashing, go to step 4.
4.
Manually clean
the print cartridge.
5.
Reinsert the print cartridge in the printer and close the printer cover.
If the Power light is still flashing, the print cartridge is faulty and must be replaced.
NOTE:
You can print with one print cartridge in ink-backup mode if you do
not have a replacement print cartridge available. For more information, see
Ink-backup mode
.
6.
If the Power light continues to flash after replacing the print cartridge, visit HP
Technical Support at
www.hp.com/support
.
"Print cartridge is in the wrong slot" message
Cause:
If you receive this error message, the print cartridge is installed in the wrong
side of the print cartridge cradle.
Solution:
Always install the tri-color print cartridge in the left print cartridge cradle
compartment.
Install the black print cartridge in the right print cartridge cradle compartment.
Low on ink
Cause:
At least one of the print cartridges is estimated to be low on ink and may
need to be replaced soon.
Solution:
Have a replacement cartridge on hand to avoid printing interruptions. You
do not have to replace the cartridge until print quality deteriorates. If you have installed
a refilled or remanufactured print cartridge, or a cartridge that has been used in
another printer, the ink level indicator will be inaccurate or unavailable.
For information on how to replace print cartridges, see
Replace print cartridges
.
Chapter 10
64
Troubleshooting

"Printing in ink-backup mode" message
Cause:
When the printer detects that only one print cartridge is installed, ink-backup
mode is initiated. This printing mode lets you print with a single print cartridge, but it
slows the printer and affects the quality of printouts.
Solution:
If you receive the ink-backup mode message and two print cartridges are
installed in the printer, verify that the protective piece of plastic tape has been
removed from each print cartridge. When plastic tape covers the print cartridge
contacts, the printer cannot detect that the print cartridge is installed.
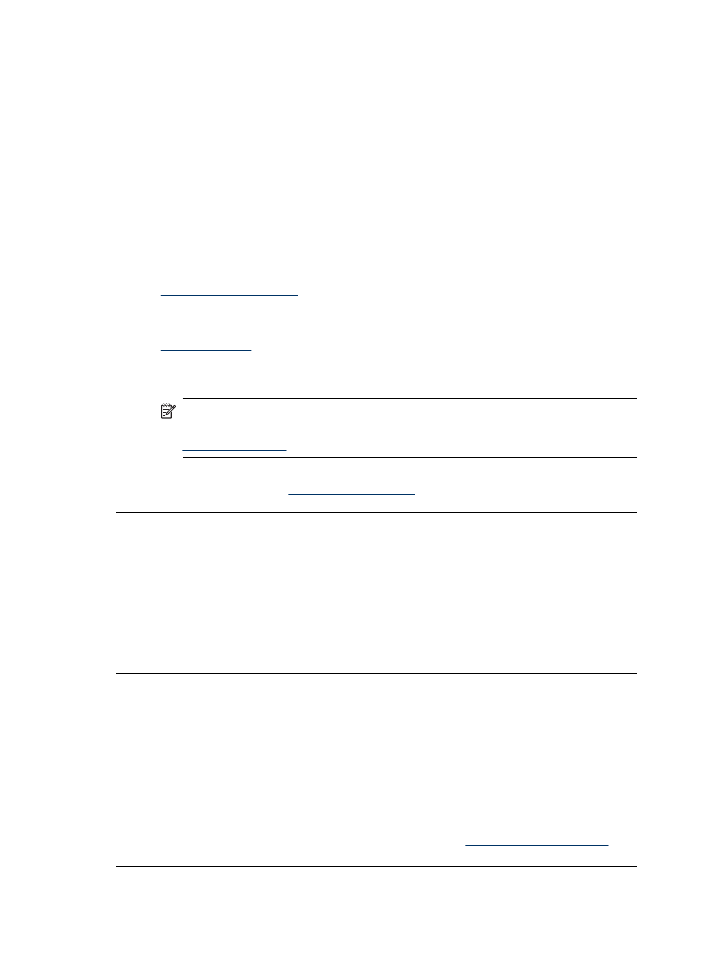
To remove plastic tape from a print cartridge
▲
Hold the print cartridge so that the copper strips are on the bottom and facing
toward the printer, and then carefully remove the plastic tape.
1 Remove plastic tape
CAUTION:
Do not touch the print cartridge ink nozzles or copper contacts.
Touching these parts will result in clogs, ink failure, and bad electrical
connections. Do not remove the copper strips. They are required electrical
contacts.